
Behind the scenes
How we make the BLADE soil moisture sensor.
From a bare circuit board to a potted, labeled sensor in a box: the keys, the programming bench, the 3D-printed hexagon housing, the epoxy, and the mistakes that shaped every step. Told the way Andy told it on the Sprinkler Nerd Show.
Keys and programming · first join · 3D printing · gluing · potting · claim keys · magnet off
By the numbers
On the bench
From sketch to sensor.
The housing began as a marker drawing. Tap any photo to see it full size.
People ask me this all the time: how do you actually make a LoRaWAN soil moisture sensor? What's the process, how long does it take, and what goes wrong? This page is the ten-thousand-foot view I gave on episode 180 of the Sprinkler Nerd Show. It isn't every step, but it's the big rocks, from a bare circuit board to a potted, labeled sensor in a box.
Step 1: The board arrives with nothing on it
I'm not the electronics engineer who designed the circuitry. That part is outsourced to an engineer with deep experience in soil moisture sensing, and I order finished printed circuit boards from that design, a hundred at a time. Every component is already soldered on, so no electrical assembly happens on my bench. What arrives is raw hardware: no firmware, no identity, no keys.
The boards can be made in the United States or overseas, and the price difference is small. I've ordered overseas for the faster turnaround, but as volume grows I plan to source domestically. Even now, roughly three quarters of the sensor's cost is American, with the bare board the remaining quarter.
Step 2: Three keys give each sensor its identity
Before a board is worth anything it needs firmware and three LoRaWAN keys. LoRa is only a radio signal; LoRaWAN is the secure network layer on top of it, governed worldwide by the LoRa Alliance, and these keys are how that network tells devices apart.
- DevEUI is the device's phone number: a globally unique identifier for this one sensor.
- AppEUI is the area code: it tells the network which application or project the sensor belongs to.
- AppKey is the secret passcode the sensor uses to join and to encrypt everything it sends, so nobody can intercept or tamper with the data over the air.
Each device also gets a plain sensor ID. For a batch of a hundred I build a spreadsheet with four columns, DevEUI, AppEUI, AppKey and sensor ID, one row per sensor, and save it as a CSV into a folder on a computer used only for programming. That folder holds the CSV, the firmware, a programming script, and a "done" file.
Step 3: Programming, about five seconds a board
The board has a flat JTAG pad rather than a socket, so the programming cable has to be pressed onto it and held. I press it on and run the script. The script loads the firmware, opens the CSV, takes the keys from the top row, writes firmware and keys to the board, then moves that row out of the CSV and into the done file. About four and a half seconds later it's finished. Set the board in the completed bin, pick up the next one, repeat.
Because used rows are removed, a set of keys can't be programmed twice. I learned why that matters the hard way. An early version of the script, when the key file ran empty, quietly reused the last row. I programmed about fifty sensors with identical keys before I noticed, and once a sensor is potted it can't be reprogrammed. Those fifty became display units, and the script now stops with an error if it runs out of keys.
Step 4: Batteries in, first join
Next I insert the two lithium batteries. Powering up for the first time finishes the firmware setup and starts the LED blinking, which means the sensor is calling the network and asking to join. When the network accepts it, the LED goes dark and the sensor sleeps. That usually takes ten seconds and never more than about ninety.
Sometimes the LED goes solid instead, which means the firmware didn't load cleanly on boot. The fix is simple: pull the batteries, put them back, and let it try again. I don't move on until every sensor in the batch has joined. At that point I have a known-good, network-joined board with batteries, ready for its housing.
Step 5: The 3D-printed hexagon housing
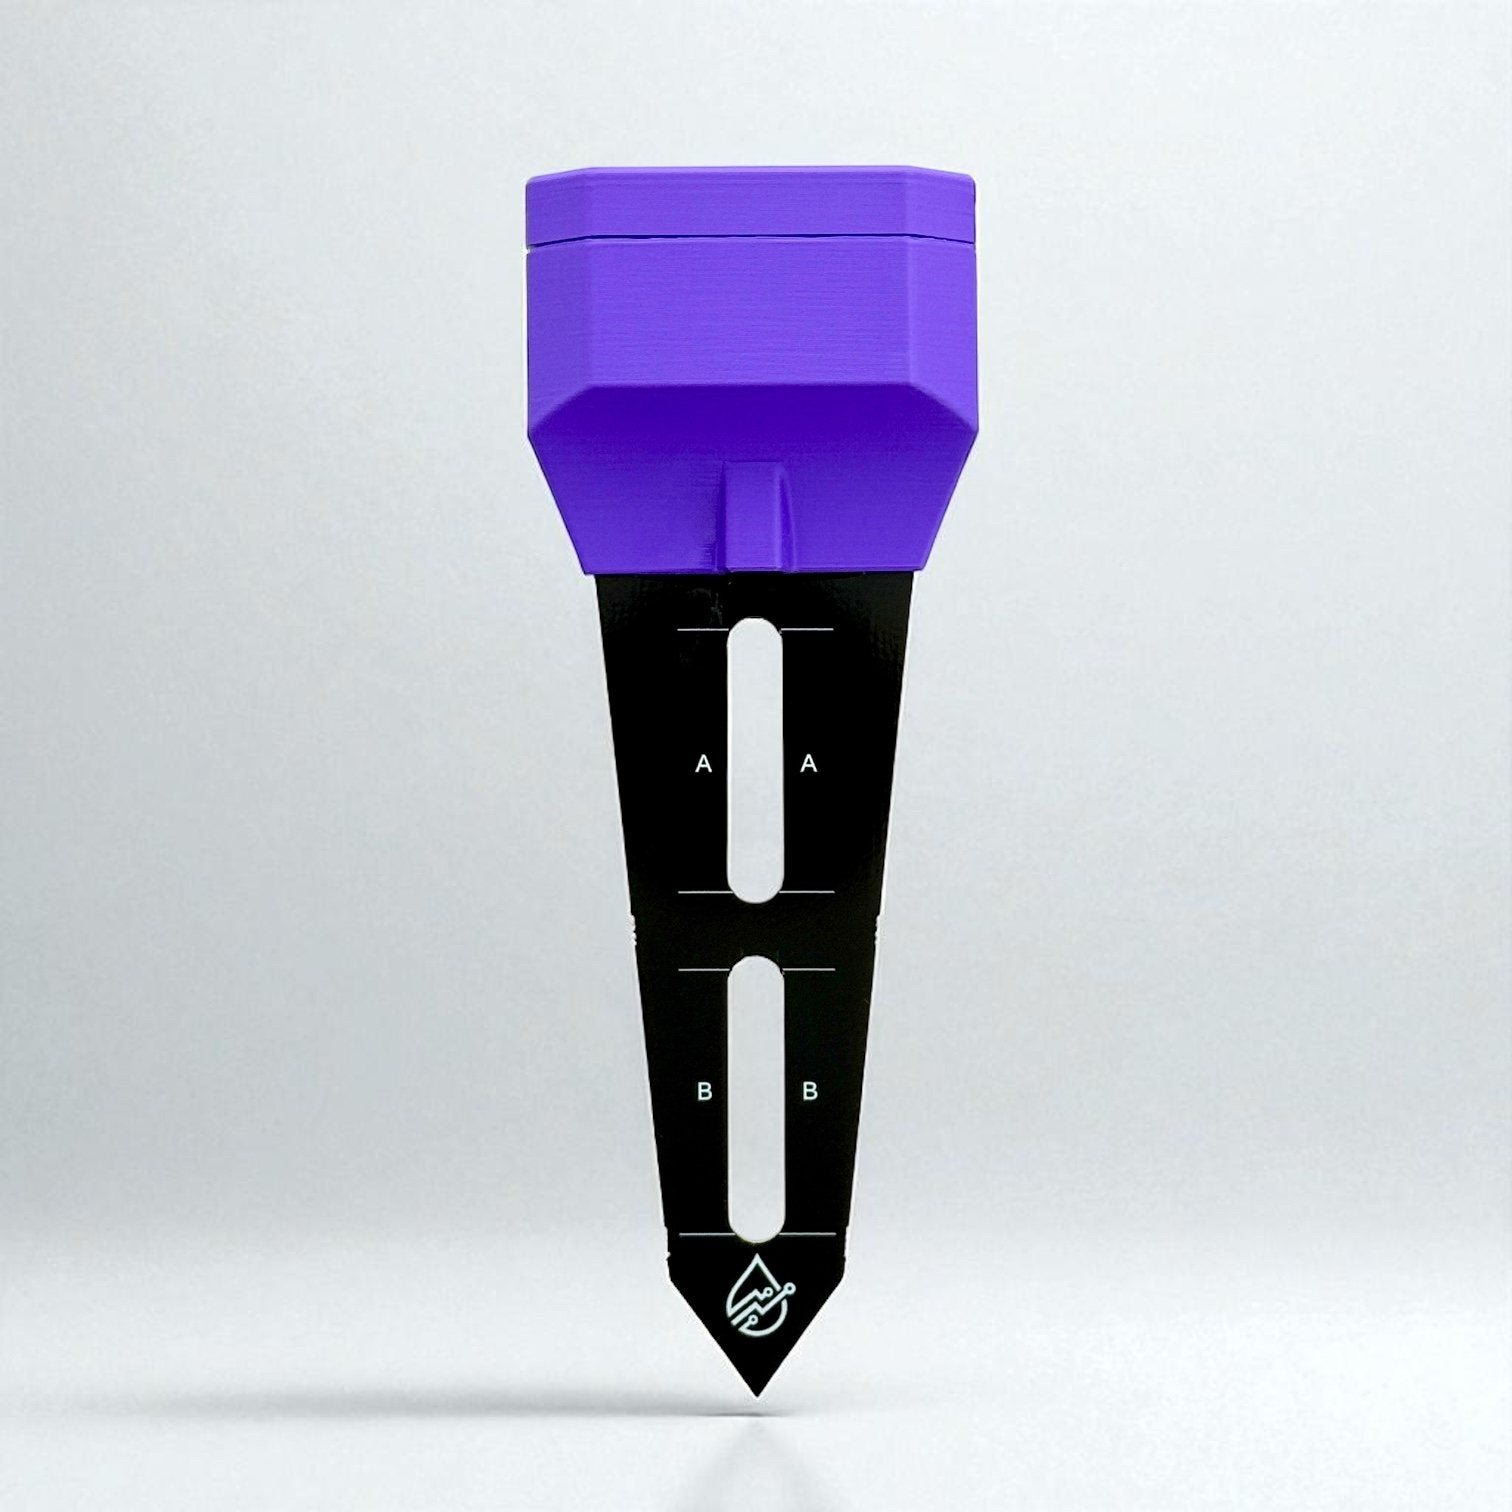
The shell is a hexagon in two pieces: a flat top with the Harmony Analytica logo and a body that slides over the probe, plus two decorative plugs. It's shaped that way because there's a battery on each side of the probe, and I wanted something that looked good while holding them.


I print the parts myself on three Bambu Lab printers, four tops and four bodies per plate, so twelve complete housings can be printing at once. They're made from ASA, a plastic similar to ABS but UV resistant, which matters for anything that lives outdoors. ASA also takes vapor smoothing well, so I've started smoothing the print lines out, something PLA and PETG won't do. I print ahead and keep bins of finished parts.
Step 6: Glue first, then wait a day
At the bench, the first thing I do with each top and body is rub them against each other for about ten seconds. It wears down the rough edges left by the print supports better than sandpaper can, and the pieces seat cleanly.

The top has a small hole for the LED to shine through. I mask that hole with painter's tape, put a drop of glue in it, then fill the top's outer ring with glue. The board drops into a cradle inside the top, the body slides down over the probe into that ring, and the pieces fit together exactly.
The glue was one of the most tested parts of the whole process. Super glue sets before the pieces are together. Modeling cement melts ASA, which can be useful but is hard to control. The adhesive I settled on is slow and forgiving: I can assemble a batch of ten or more, set them upside down on the bench (they won't stand on the probe), and leave them for 24 hours.
Step 7: Potting, exactly eight and a half squeezes
The reason for gluing is what comes next. Like a two-wire decoder, the sensor is fully potted in electrical epoxy so it's waterproof. If you pour epoxy into a two-piece shell that isn't sealed, it oozes out of every seam. I know, because making a mess was how I learned.
The next day I lay wide masking tape across the batch, covering the pour hole designed into each housing, one strip for all of them. The epoxy is a two-part cartridge in a caulk-style gun with a mixing nozzle. I warm the cartridges in a heated cabinet first, which makes it flow and cure better. Instead of pushing the nozzle into the hole, I rest it against the probe or the tape and let the epoxy run down. Eight full squeezes, a check of the level through the hole on the other side of the probe, then the last half squeeze. That number took a lot of ruined sensors to find.
The sensors go under a heat lamp and cure rock hard in about 24 hours. Every part of the electronics, the batteries and the antenna is now encased. The housing is just color and a logo at that point; you could drop the sensor in a lake and pull it out a year later. One two-part cartridge pots about six sensors, and the epoxy is the single most expensive material in the build.
Step 8: Labels and claim keys
Every finished sensor is loaded into our platform ahead of time and held in a reservoir in the database. Each gets a UV-resistant clear label, printed one at a time on a small label printer, with its device ID and a claim key. When you create an account or add a sensor, you type the claim key and the software pulls that sensor out of the reservoir and assigns it to you. You never touch the DevEUI, AppEUI or AppKey; that was all done on the bench.
The first labels I used weren't UV rated and didn't last. Now they are.
Step 9: Turning it off with a magnet
Since the first join, the sensor has been awake on its schedule: sleep, wake every 15 minutes, send one small reading through the gateway to the cloud, sleep again. That's how it lasts years on two batteries. Before shipping I want it off, but a potted sensor has no button. There's a magnetic reed switch inside, so holding a magnet over the LED spot for about 60 seconds powers it down and it becomes shelf stock. When you install it, it wakes and rejoins the network on its own.

Why it works with any gateway
A LoRaWAN device is never paired to a particular gateway. Any sensor I make, whether soil moisture, pressure, flow, weather or temperature and humidity, works with any Wi-Fi or cellular gateway I sell, because they all speak the same network protocol and the network server sorts out who's who. Add a gateway and every sensor in range simply has another path to the cloud.
What it adds up to
Counting key generation, programming, batteries, printing, gluing, potting and labeling, it's about one hour of hands-on time per sensor from start to finish. The way I do it today is the sum of every mistake I made before: the fifty sensors with duplicate keys, the glue that melted the housing, the epoxy on the bench. The systems you install this year are better than the ones you installed five years ago for the same reason. Keep after it, and keep learning from what fails.
The bench, in order
Nine steps from board to box.
-
1
Boards arrive
Fully assembled PCBs, a hundred at a time, with no firmware or keys.
-
2
Keys and programming
A script writes firmware plus a unique DevEUI, AppEUI and AppKey to each board in about five seconds.
-
3
Batteries and first join
Two lithium cells go in, the LED blinks, the sensor joins the network.
-
4
Print, glue, pot, label
ASA housing, slow-cure glue, warmed two-part epoxy, UV-resistant claim-key label, then a magnet to power it down for the shelf.
Is the sensor made in the USA?
Mostly. Programming, printing, assembly, potting and labeling all happen on our bench, and about three quarters of the sensor's cost is domestic. The bare circuit board is currently made overseas for turnaround time, with plans to source it domestically as volume grows.
Why pot the whole sensor in epoxy?
So it's waterproof, the same way a two-wire irrigation decoder is. Every part, including the batteries and antenna, ends up encased in rock-hard epoxy. The trade-off is that a potted sensor can never be reprogrammed or opened.
What is a claim key?
A short code on the label. Enter it in your account and the platform assigns that sensor to you. The LoRaWAN keys were programmed on the bench, so you never have to handle them.
How do I turn it on or off with no button?
There's a magnetic reed switch inside. Hold a magnet over the LED spot for about 60 seconds to power it down. When installed, it wakes and rejoins the network on its own.
Will it work with a gateway I already have?
Yes, with any LoRaWAN gateway. Sensors are never paired to a specific gateway, so any Wi-Fi or cellular gateway that reaches the same network server will carry its data.
How long does the battery last?
The sensor sleeps and wakes every 15 minutes to send one small reading, so two lithium cells run for years. It ships powered down and starts that schedule when you install it.
Harmony Analytica
Want one in the ground?
Buy a sensor and add it with its claim key, or tell us about the site and we'll design the network around it.